

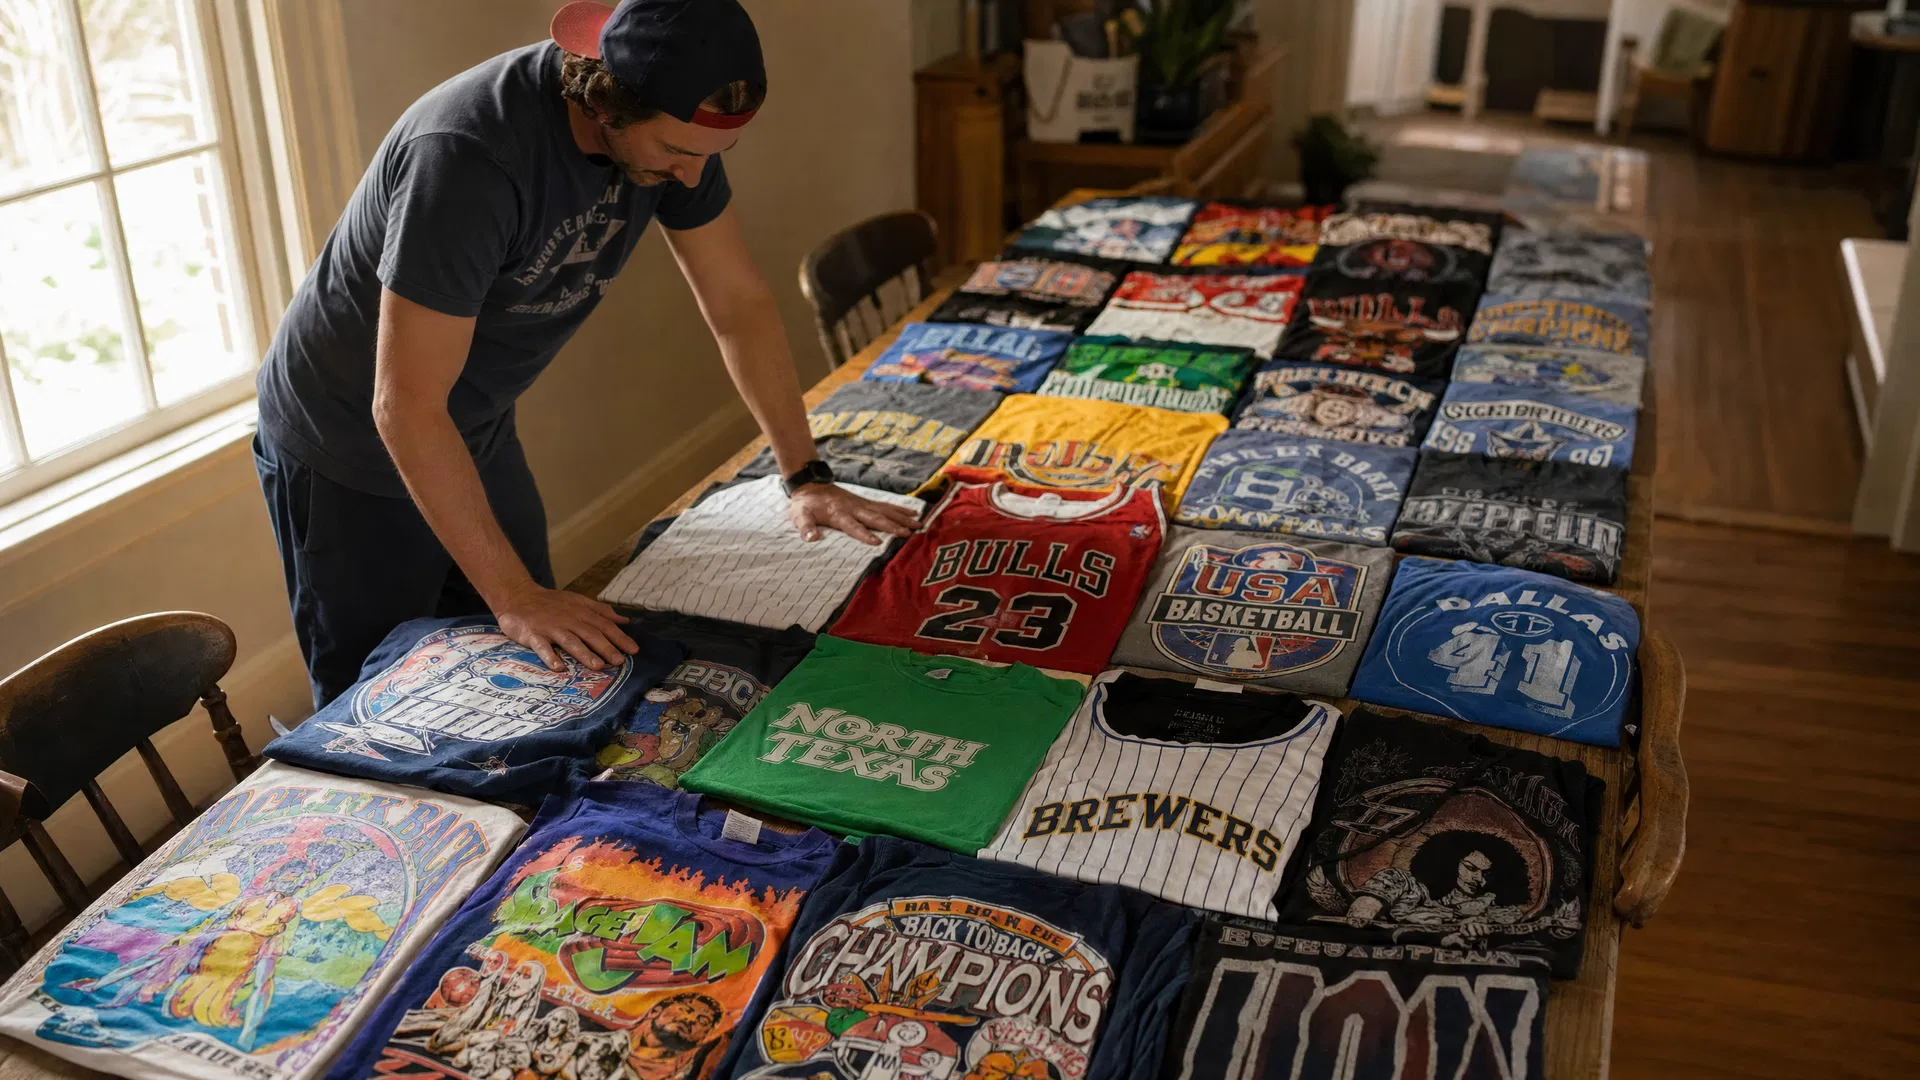
That stack of shirts in your closet represents years of your life — concerts, championships, road trips, graduations, and ordinary Tuesdays that turned out to be anything but. When you decide to turn them into a Project Repat quilt, a small amount of preparation on your end makes a significant difference in how the finished piece looks and how smoothly the process goes.
We've made over a million quilts since 2012. In that time, we've learned that the customers who spend an hour organizing before they ship almost always end up with a quilt they love more than they expected. This guide walks you through every step, from pulling shirts out of the drawer to sealing the box.
Step 1: Select Your Shirts
Start by clearing a large flat surface — a dining table, a bed, or a clean section of floor — and laying out every shirt you're considering. Seeing them all at once gives you a much better sense of what you're working with than pulling them out of a pile one at a time.
Start with your must-haves
Pick out the shirts you absolutely cannot leave out — the ones that immediately bring back a specific memory or feeling. Set those aside first. Everything else is negotiable.
Build a backup pile
Once your must-haves are set, create a second group of shirts you'd include if you have room. These are useful for filling gaps in color or size, and they give you flexibility when you're deciding on a quilt size.
Check your count against your quilt size
Our size guide shows how many shirts each quilt size requires. If your must-have pile is short, pull from your backups. If it's too large, save the extras for a second quilt — many customers end up ordering one for themselves and one as a gift.
Step 2: Decide Which Part of Each Shirt to Use
Most shirts have a graphic on the front, the back, or both. Each graphic you want included counts as one panel in your quilt design. Before you pack anything, take a moment to decide which parts of each shirt matter most to you.
Front vs. back graphics
If you want both the front and back of a shirt included, that counts as two panels — which means you'll need a larger quilt size to accommodate it. Think about whether both sides are equally meaningful, or whether one is clearly the one you want to feature.
Small details and pocket logos
A small chest logo, a sleeve graphic, or even a distinctive collar tag can add a lot of personality to a quilt. If there's a small detail on a shirt that's meaningful to you, flag it — our team can work with it.
Plain shirts as breathing room
A solid-color shirt with no graphic isn't a wasted panel — it gives the eye a place to rest between busier designs. If you have a beloved plain shirt in a color that fits the collection, it's worth including.
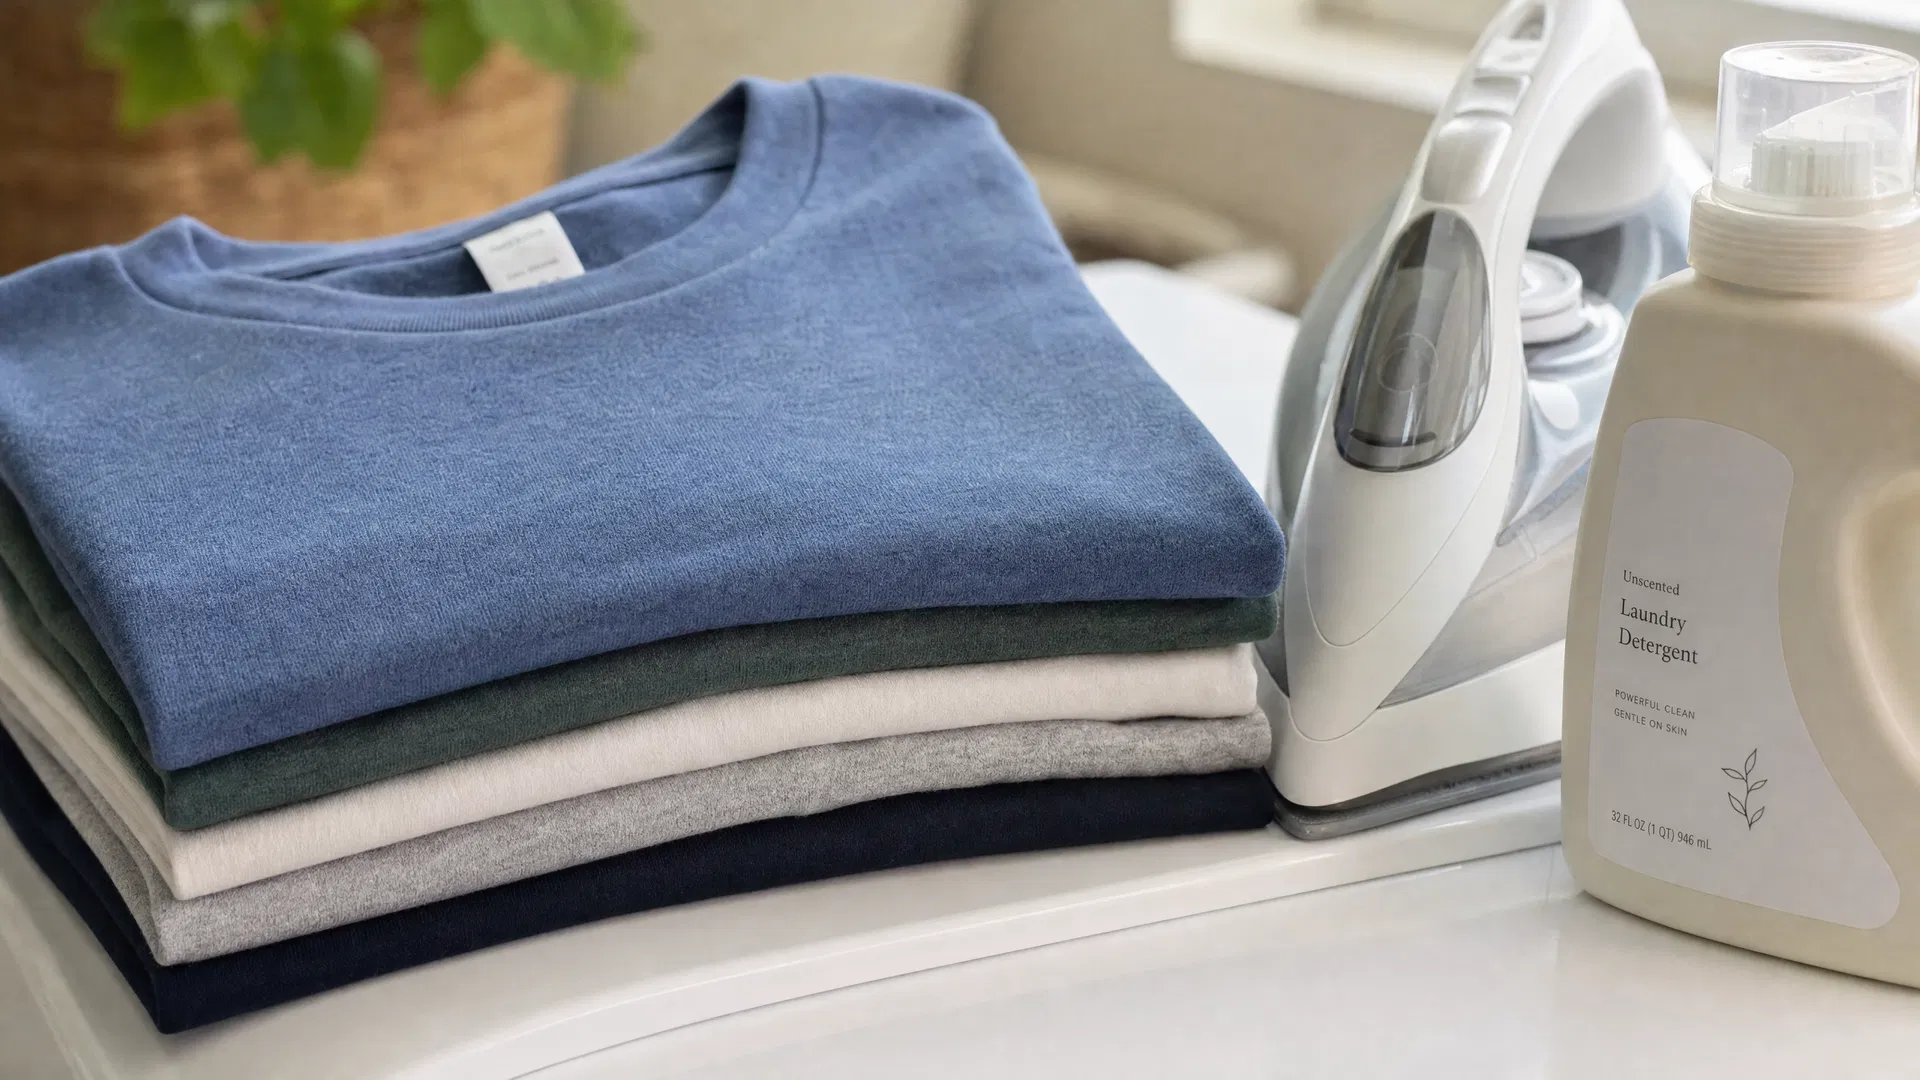
Clean, dry shirts — washed without fabric softener — are ready to ship.
Step 3: Wash Your Shirts the Right Way
Every shirt you send us needs to be clean and completely dry. This protects the fabric during transit and ensures our team can work with it immediately upon arrival. There's one important rule to follow when you wash them.
Skip the fabric softener and dryer sheets
Fabric softener and dryer sheets leave a residue on fabric that can interfere with the bonding process we use when applying interfacing to the shirt panels. Use a plain, unscented detergent and dry on a standard heat setting — no dryer sheet.
Make sure everything is fully dry before packing
Even slight dampness trapped inside a sealed shipping box can lead to mildew within a few days of transit. Run everything through a full dryer cycle and let it cool completely before folding and packing. If you're in a humid climate, consider running the dryer cycle twice.
| Washing Do's | Washing Don'ts |
|---|---|
| ✓ Plain unscented detergent | ✗ Fabric softener or dryer sheets |
| ✓ Standard wash cycle | ✗ Dry-clean-only items mixed with machine-wash items* |
| ✓ Fully dry before packing | ✗ Packing while still warm or damp |
| ✓ Cool completely before folding | ✗ Bleach or harsh stain removers on graphics |
*If you include a dry-clean-only item, the finished quilt will need to be dry-cleaned. Keep this in mind for quilts going to households with young children.
Step 4: Label Your Preferences
Our designers are skilled at creating balanced, visually cohesive layouts — but they can't read your mind. If you have specific preferences about which side of a shirt to use, or where a particular shirt should sit in the quilt, now is the time to communicate that.
Use painter's tape for per-shirt notes
Painter's tape is the right tool for this — it's easy to write on, sticks well to fabric, and peels off cleanly without leaving residue. A small piece of tape that says "USE BACK ONLY" or "FRONT GRAPHIC ONLY" on the relevant shirt removes any ambiguity. Avoid duct tape, packing tape, or sticky notes, which can damage the fabric or fall off in transit.
Include a layout note if you have a specific vision
If you have a strong preference for how the quilt is arranged — for example, you want a particular shirt in the center, or you'd like the shirts grouped by era — write it down on a piece of paper and include it in the box. A photo of your shirts laid out in your preferred arrangement is even better. Our team will use it as a reference.
Trust us if you don't have a preference
If you're happy to let our designers handle the layout, you don't need to do anything extra. Just pack your shirts and ship them. Our team has arranged thousands of quilts and will balance your colors and graphics to create a result that looks intentional and cohesive.
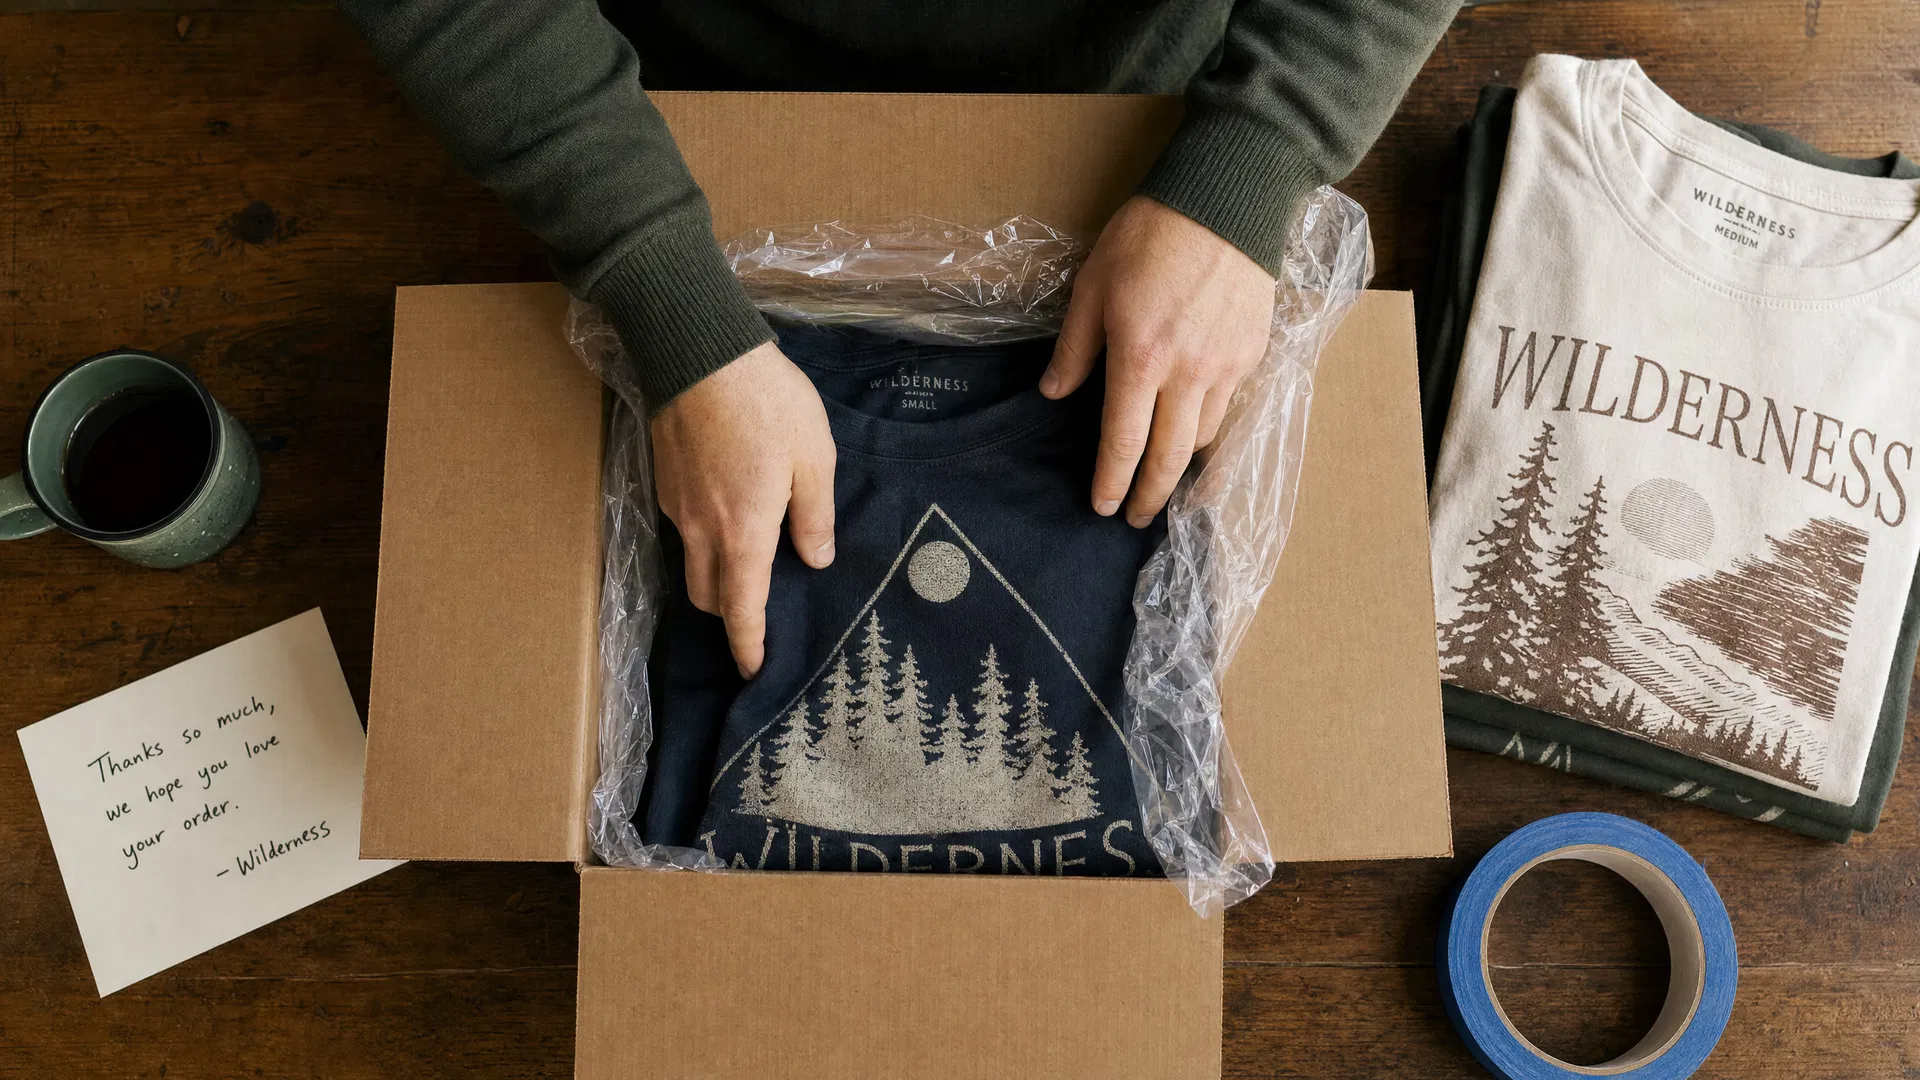
A plastic bag liner and a well-sized box protect your shirts throughout transit.
Step 5: Pack Your Box for Safe Shipping
The last step is getting your shirts to our facility in North Carolina safely. A few simple precautions protect your collection from the unexpected.
Choose the right box size
Use a sturdy corrugated cardboard box that fits your shirts without too much extra room. If the box is too large, shirts shift and wrinkle during transit; if it's too small, the box may not survive the journey intact. A snug fit with a little padding is ideal.
Line the box with a plastic bag
Place a heavy-duty plastic bag — a clean trash bag works well — inside the box before adding your shirts. This creates a waterproof barrier that protects your collection if the box gets wet during transit. Fold the bag over the top of the shirts before closing the box.
Include your order information
Before you seal the box, place a piece of paper inside with your name, phone number, email address, and order number. This ensures our team can match your shirts to your order the moment the box is opened — no delays, no confusion.
Pre-Ship Checklist
Before you seal the box, run through this list:
- All shirts are washed with plain detergent — no fabric softener or dryer sheets
- Every item is completely dry and cooled before packing
- You've decided which side of each shirt to use and marked any preferences with painter's tape
- Any layout notes or reference photos are printed and placed in the box
- The box is lined with a plastic bag for moisture protection
- Your name, phone number, email, and order number are written on a slip of paper inside the box
- The box is appropriately sized — not too large, not too small
- You've noted your tracking number somewhere safe
Made in North Carolina · Since 2012
Ready to Get Started?
Place your order, then use this guide to get your shirts ready to ship. Our team takes it from there.
Order Your QuiltQuestions? Visit our FAQ & Contact page.